Generating UT Email Signature

Last updated: Sep 18, 2026
2149
views

How to Set Up Your UT Email Signature

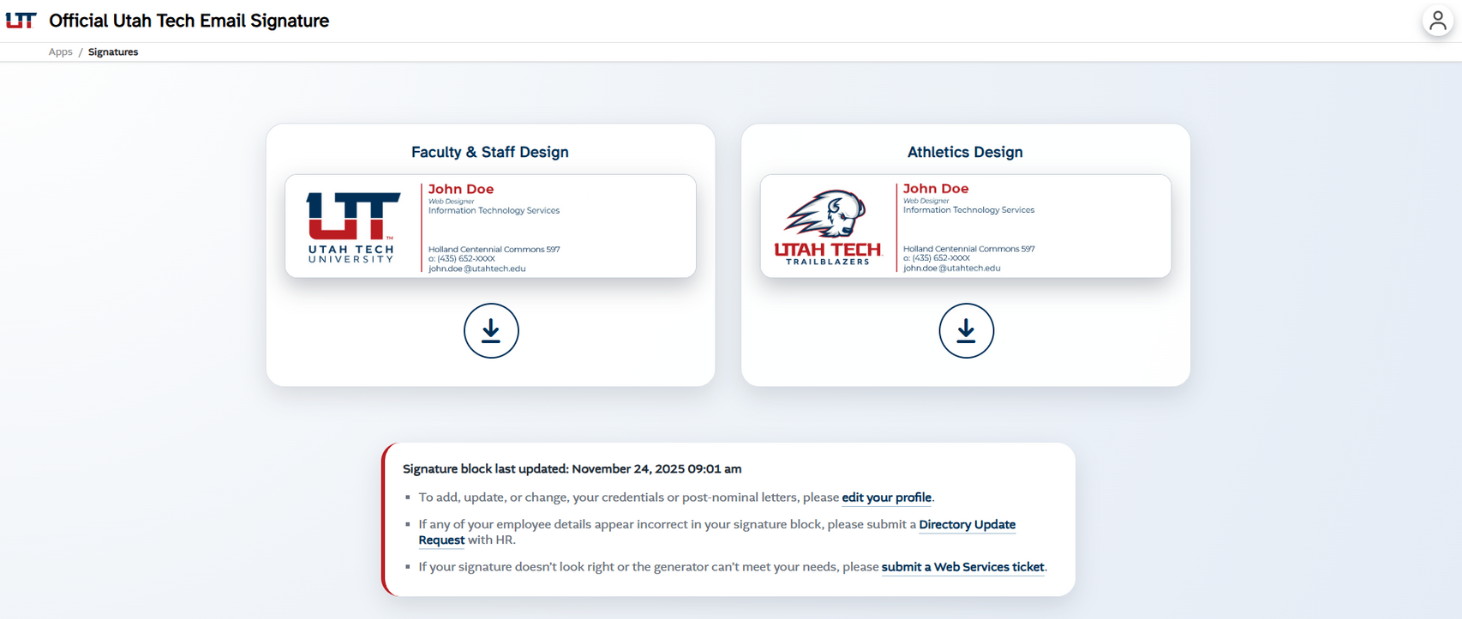
Step 1 - Check Your Information
- Go to https://apps.utahtech.edu/signatures/
- Make sure all your personal information is correct.
- If anything is wrong, submit a Directory Update Request with HR.
Step 2 - Download Your Signature
- Choose the appropriate signature style
- Click the Download Icon
- Save the image to an easily accessible folder (i.e. downloads, desktop, documents)
Step 3 - Open Outlook Settings
Go to mail.utahtech.edu and select the gear icon in the top right corner to open Settings.
Step 4 - Create Your Signature
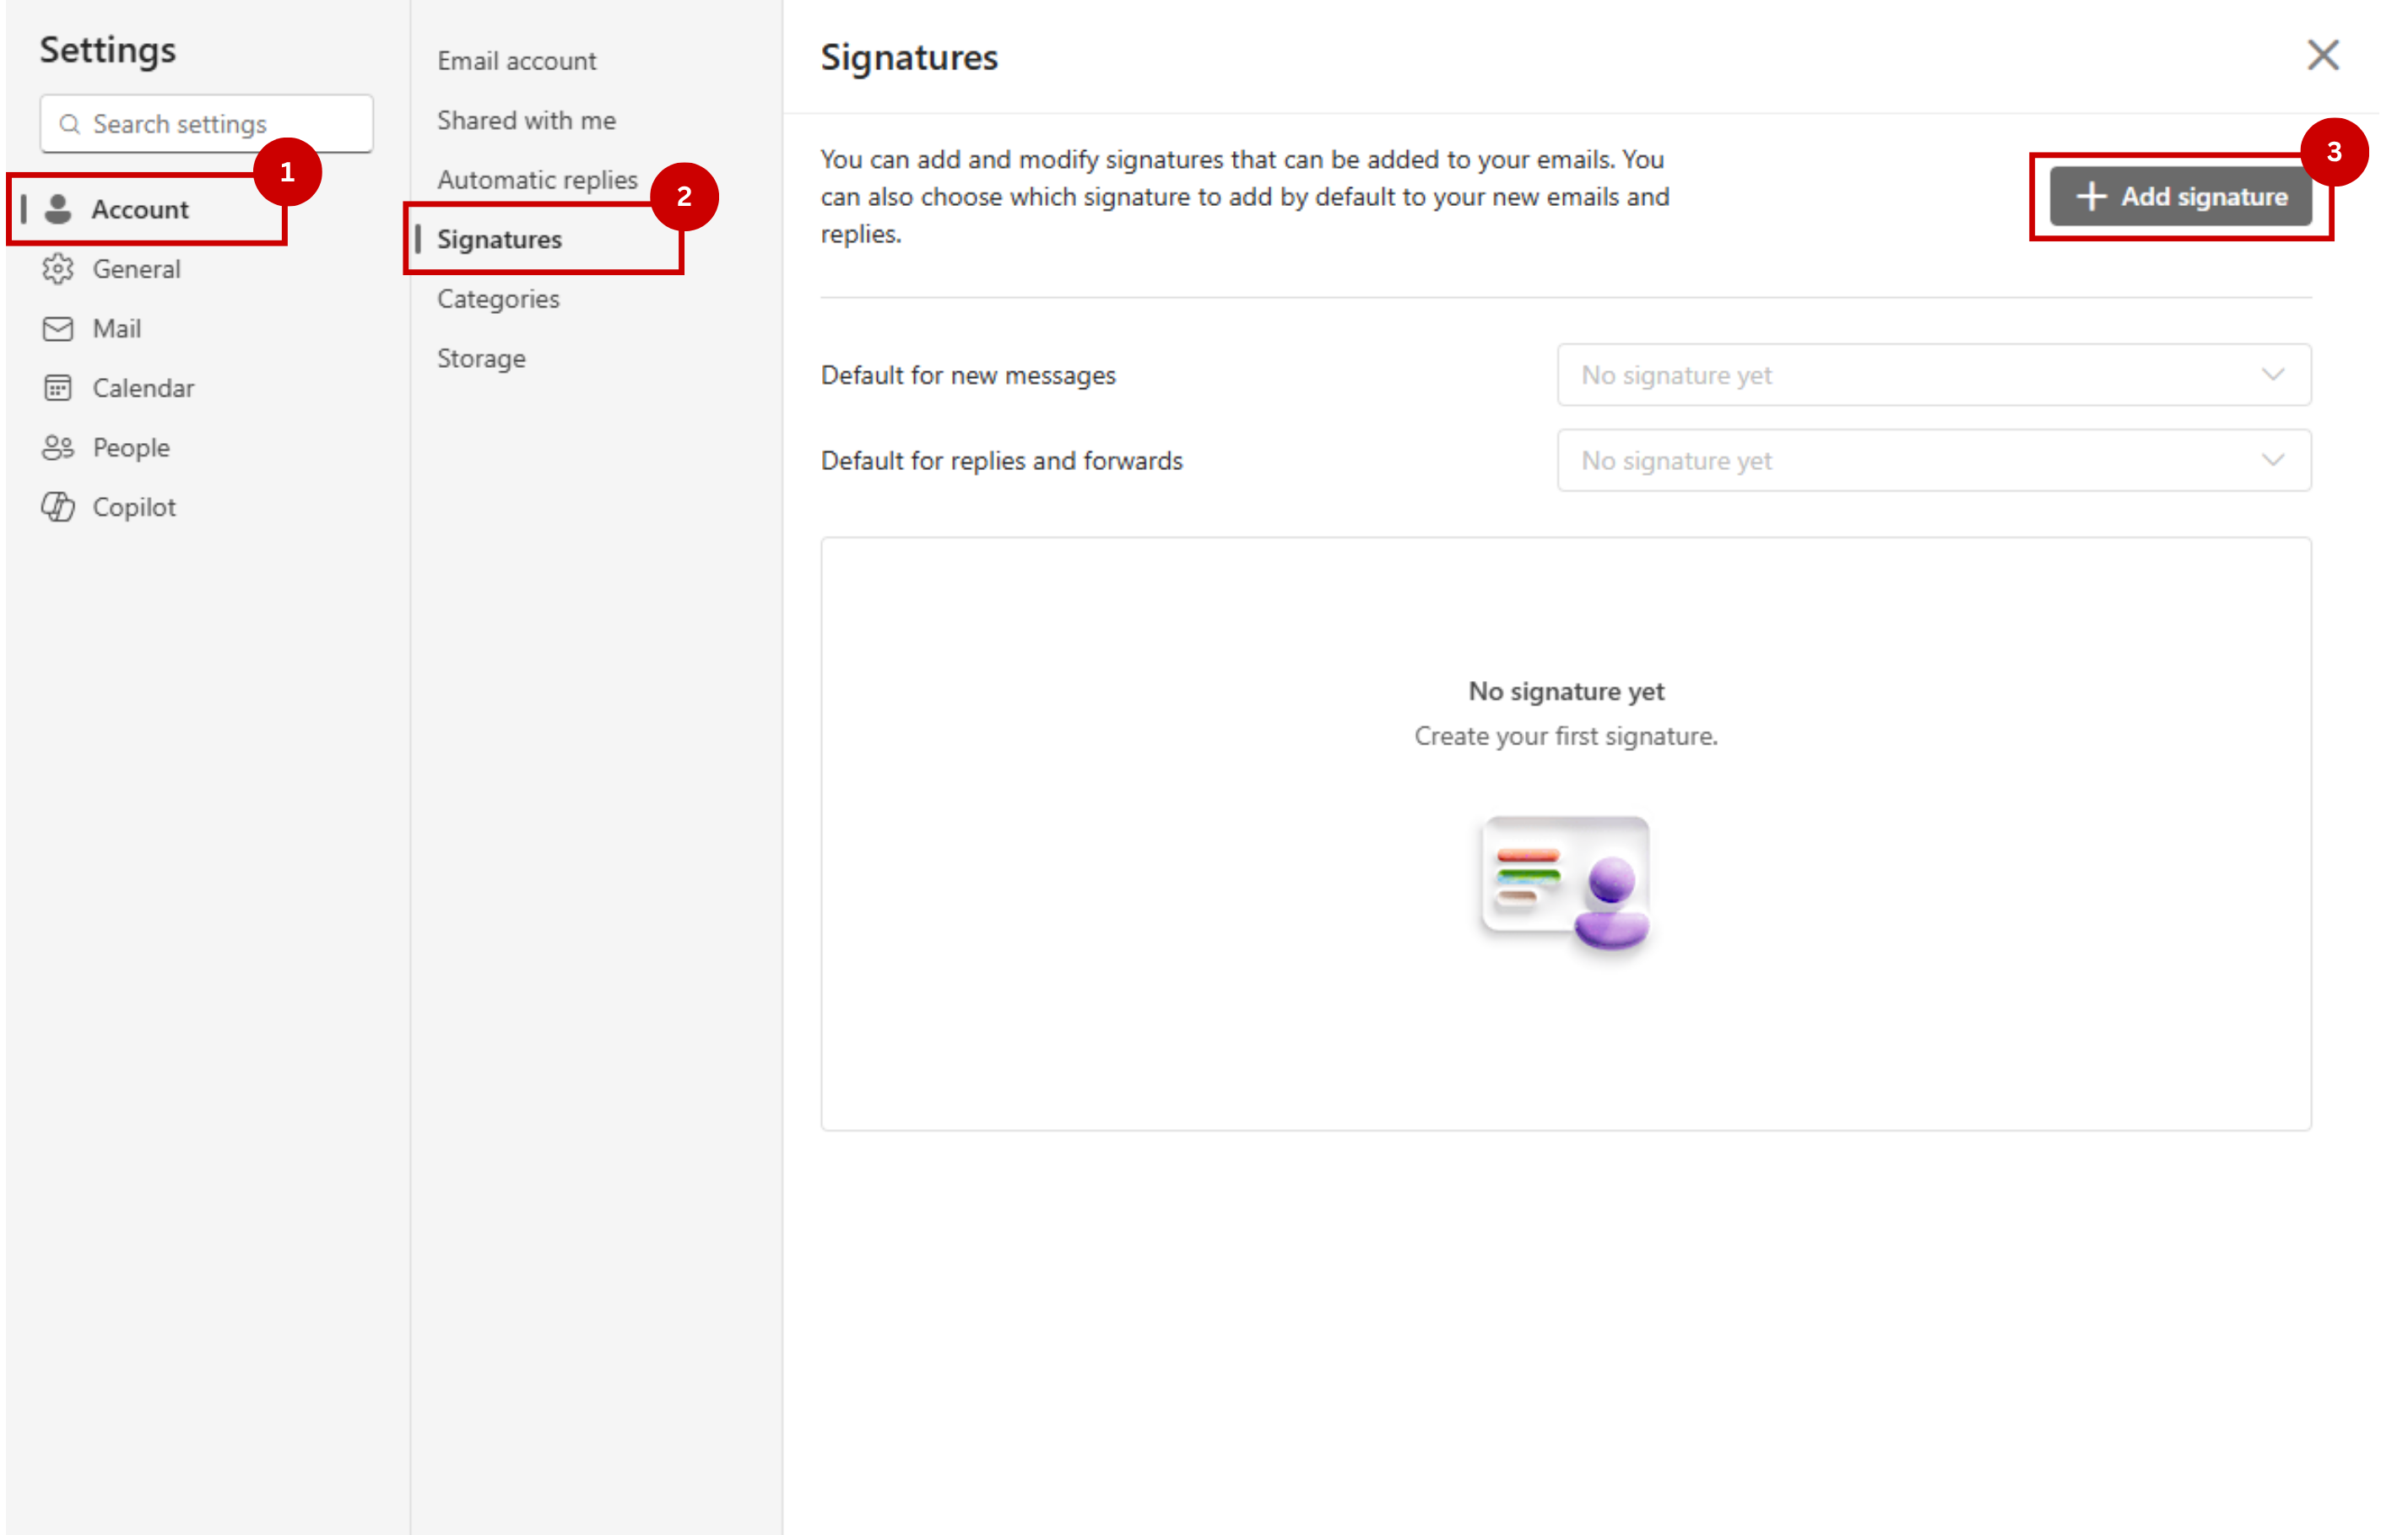
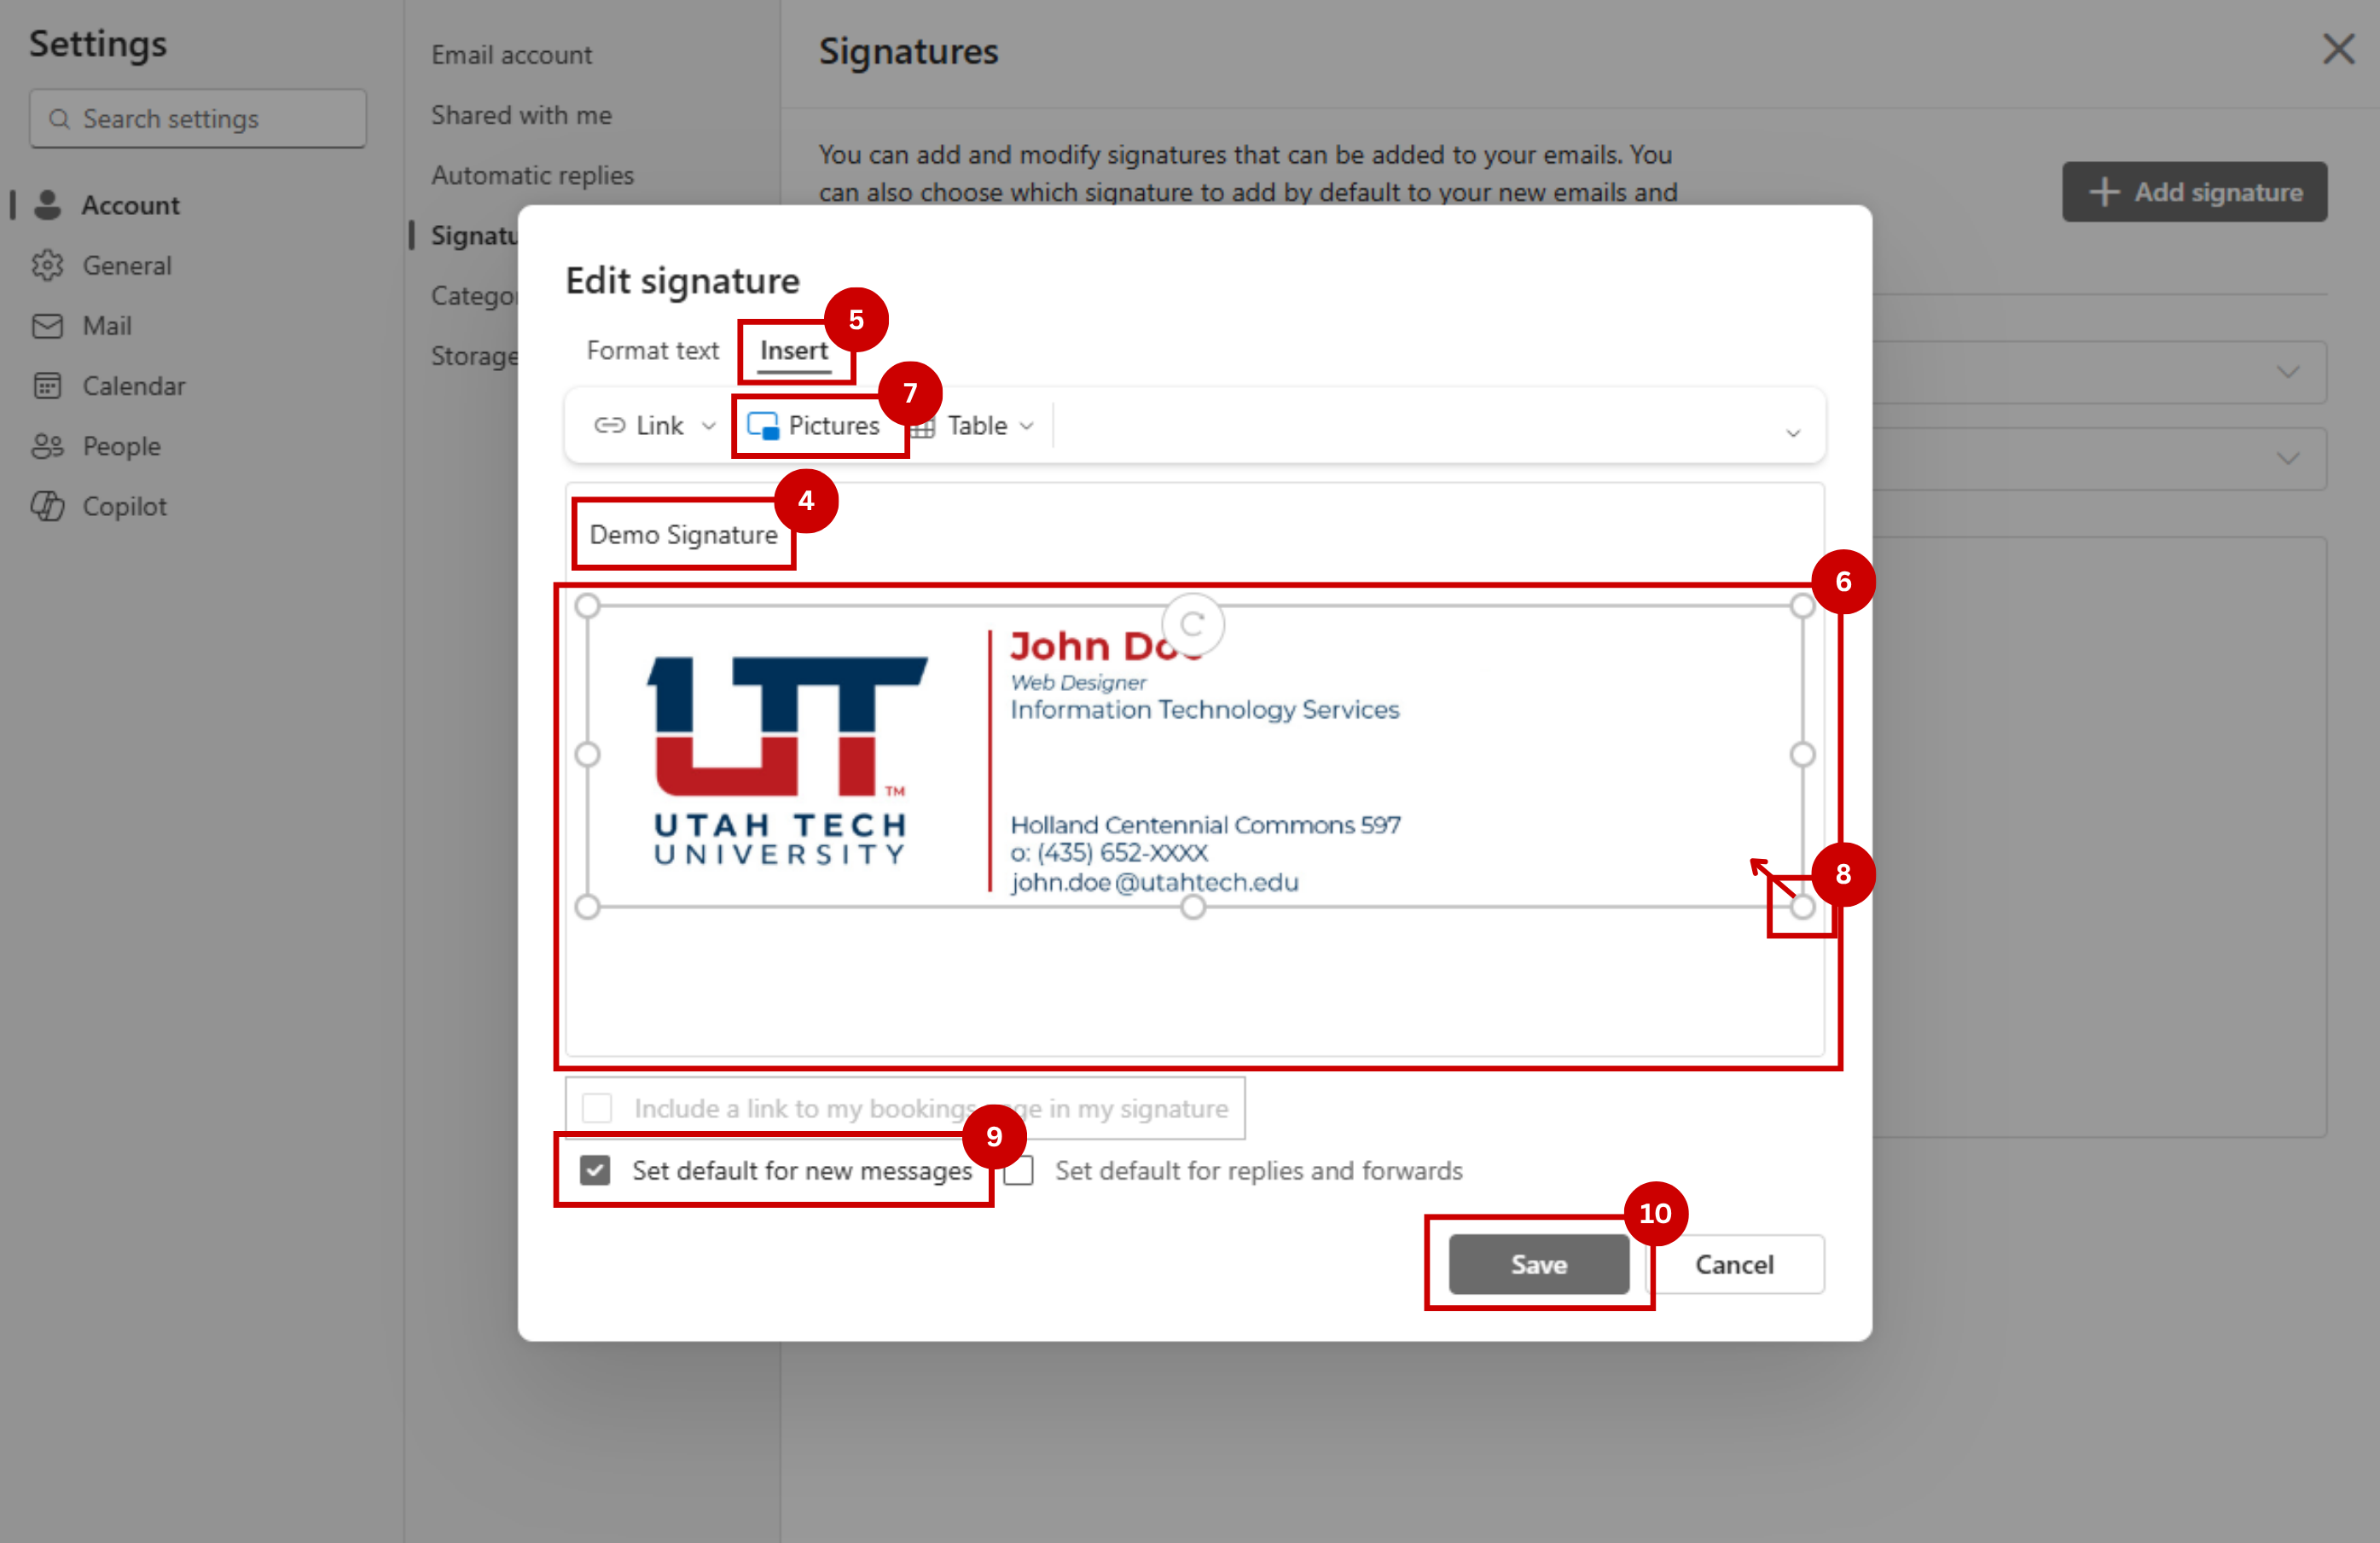
(The numbered steps below match the numbers shown in the screenshot.)
- In Outlook's Settings, select Account.
- Click Signatures.
- Select Add signature.
- Enter a name for your signature (for example, UT Signature).
- In the signature editor, choose Insert.
- Click inside the signature text box to activate the editor.
- Select Pictures and upload your custom UT signature.
- Click the signature image and drag the corner handles to resize as desired.
- Enable Set default for new messages box (and replies and forwards if desired).
- Click Save.
Step 5 - Verify Your Signature
After saving your signature:
- Go back to your Outlook inbox.
- Click New Message to compose a new email.
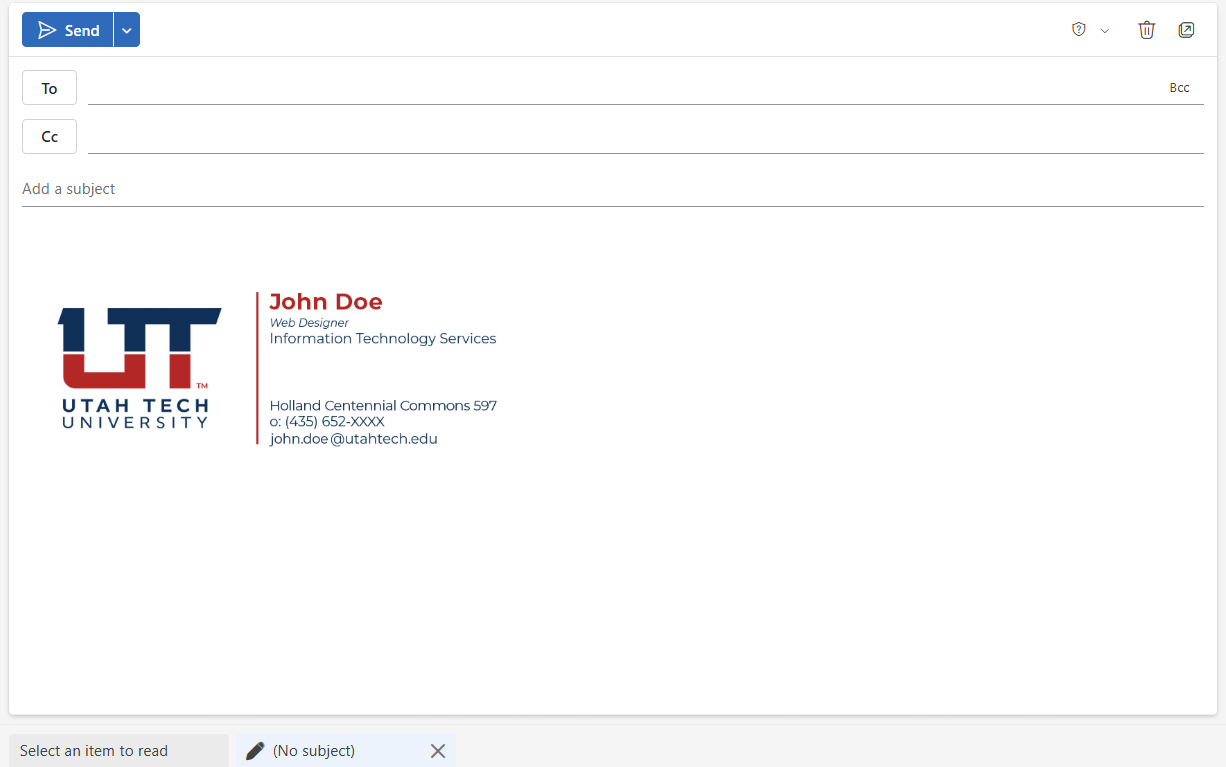
- Your signature should automatically appear at the bottom of the message.