

 1660
1660
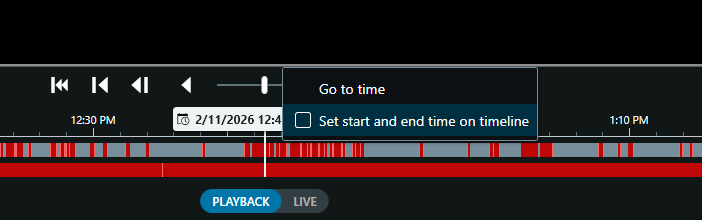
Open the camera view you want to export in XProtect and select Playback on the timeline at the bottom of the screen. Right click the timeline and select "Set start and end time on timeline".
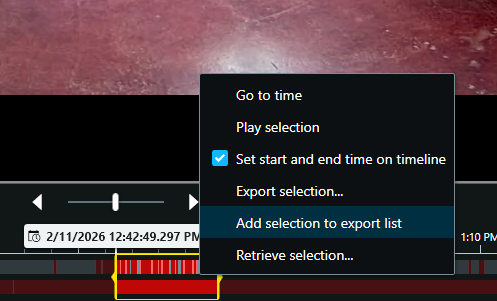
Select the time period you want to export. Right click and choose "Add selection to export list".
Go to the export tab at the top left. From here you can see the clips you have added to the export list. Check the boxes to export as media player format and not XProtect format.
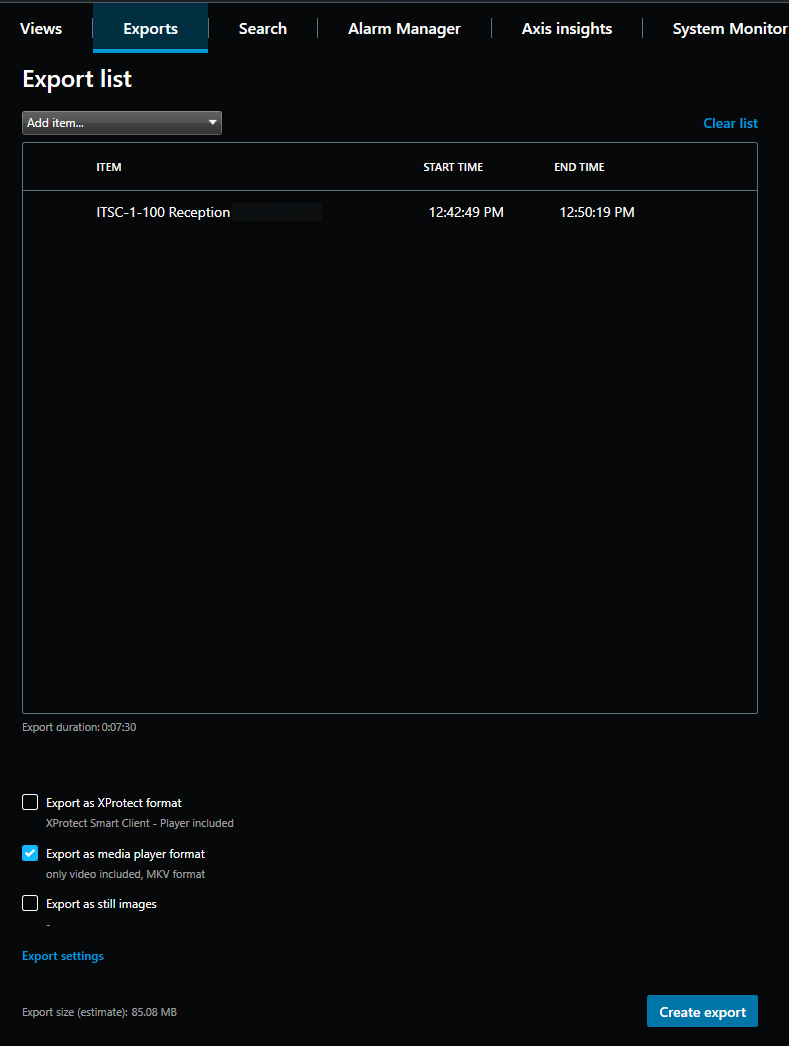
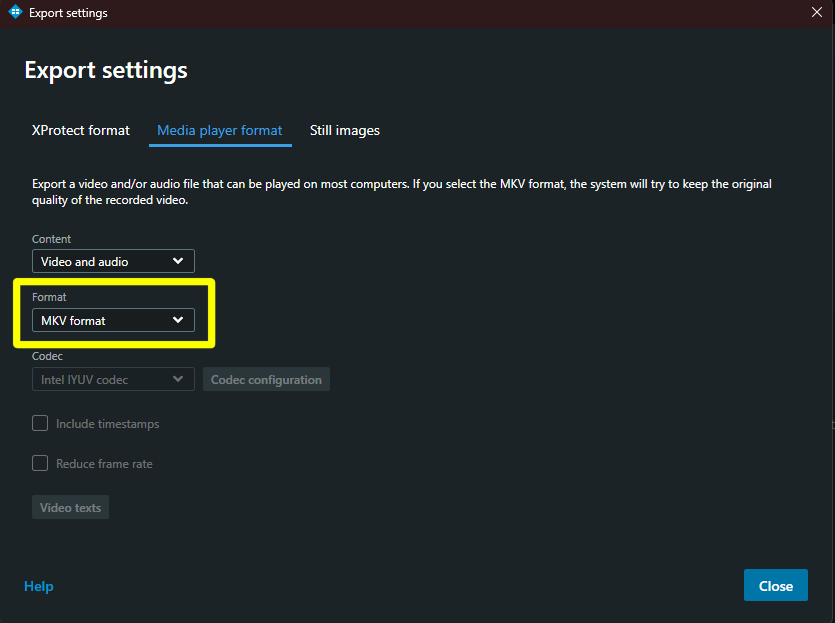
If the text under media player format says AVI format, click export settings.
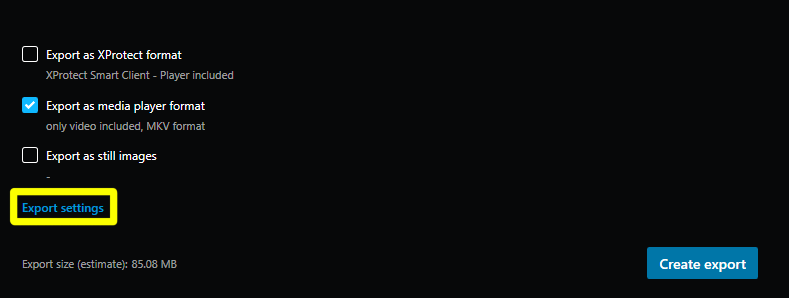
Go to the "Media player format" tab at the top of the popup window. Under the format dropdown, select "MKV format". Then click close.
Click create export and name the folder that the video will export to in the popup window.
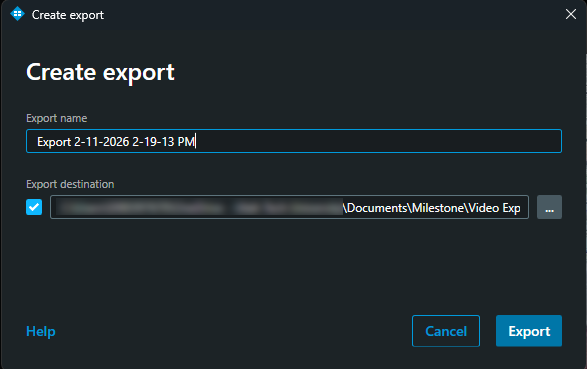
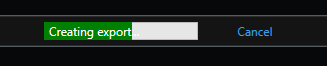
Click export. A loading bar will show export progress at the top right corner.
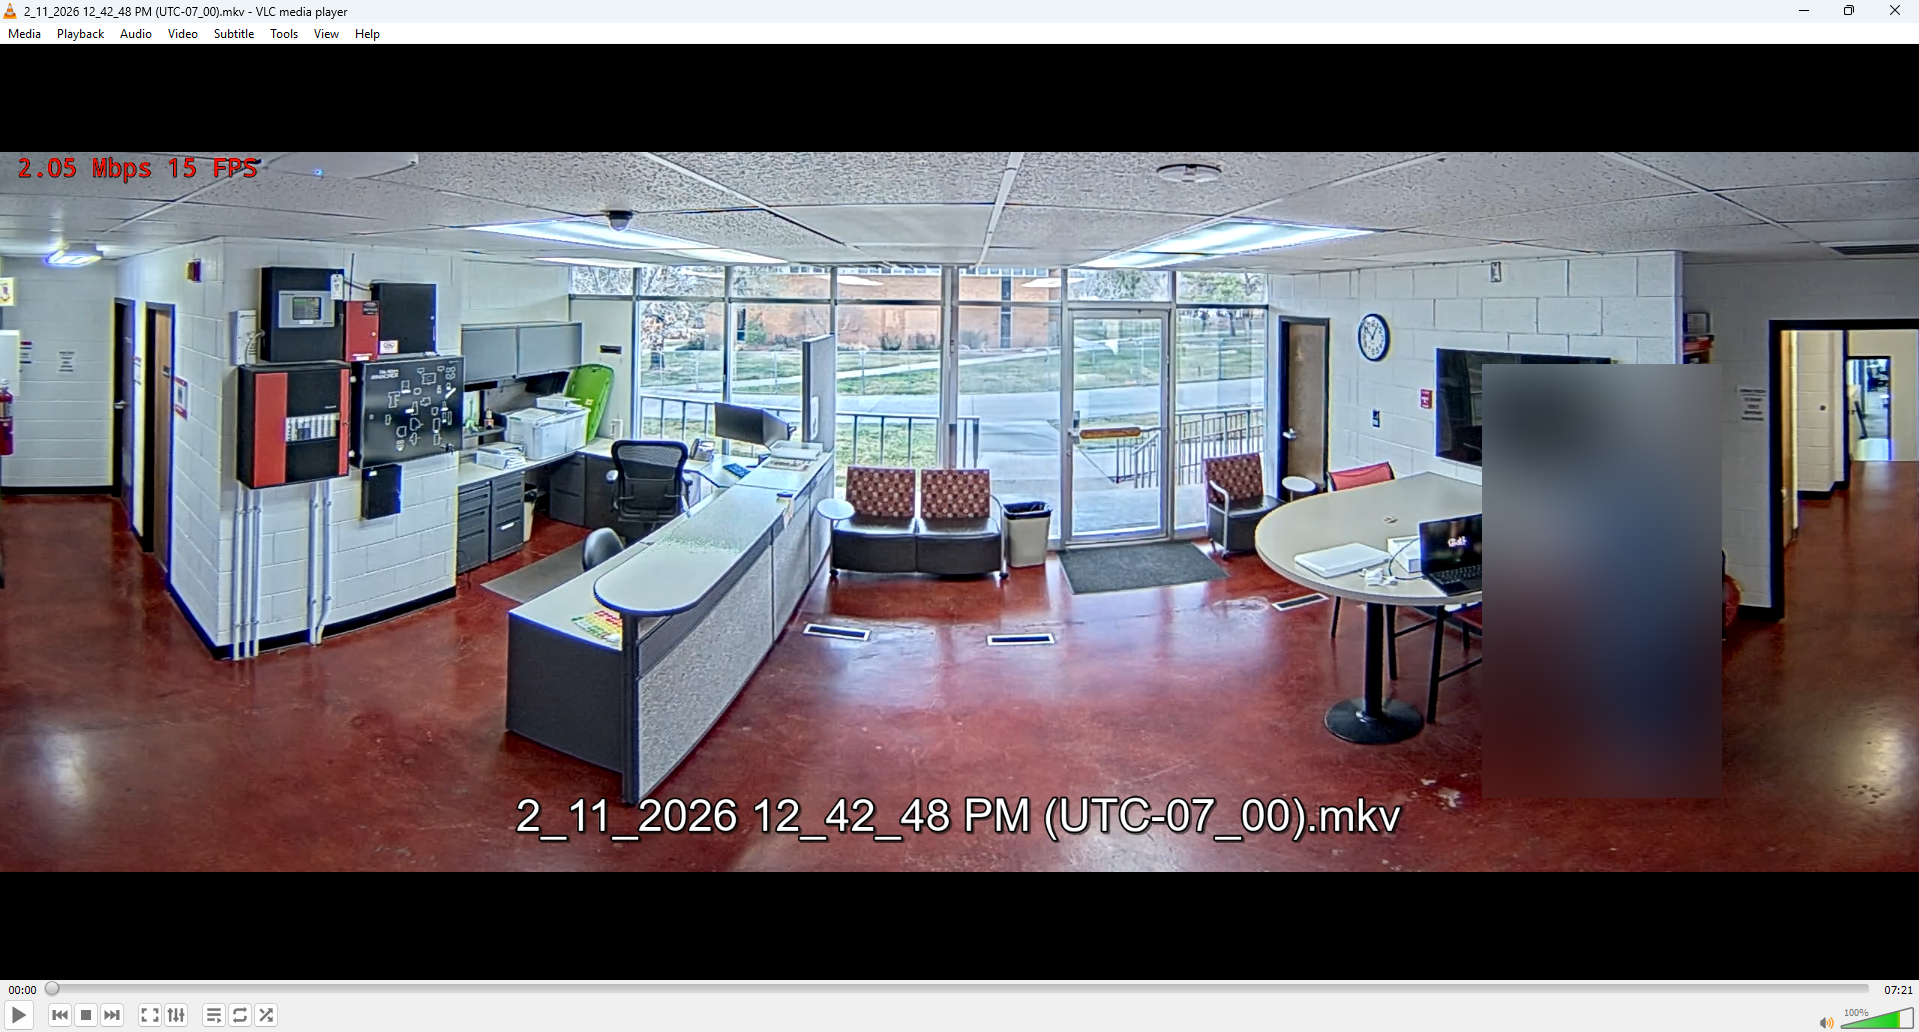
Locate your exported video files, typically under "Documents\Milestone\Video Export". You should be able to play them and send them as attachments from here. Note that Outlook has fairly strict file size limits when sending an email so you may have to upload the video to OneDrive and send a share link rather than send the file itself.
Enjoy.

